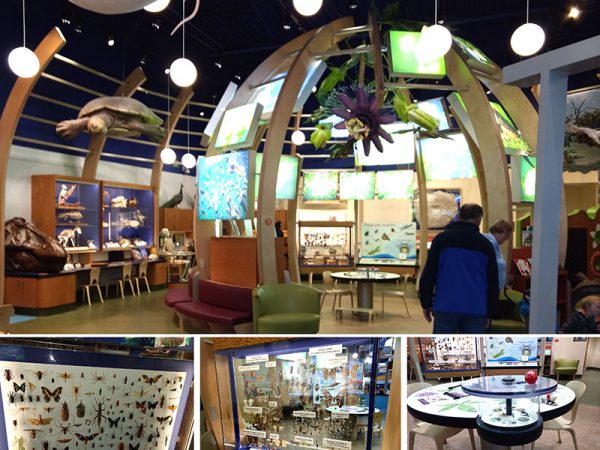
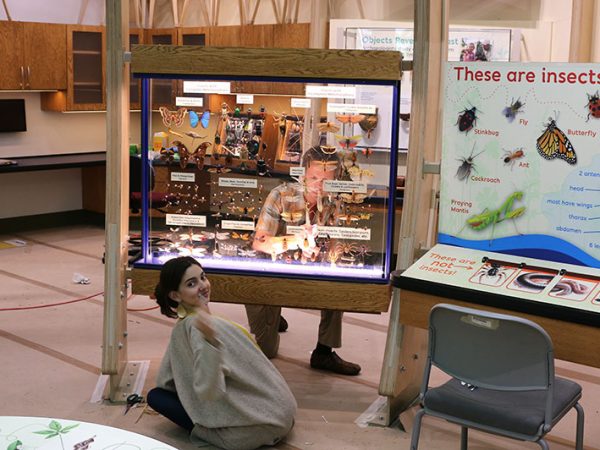
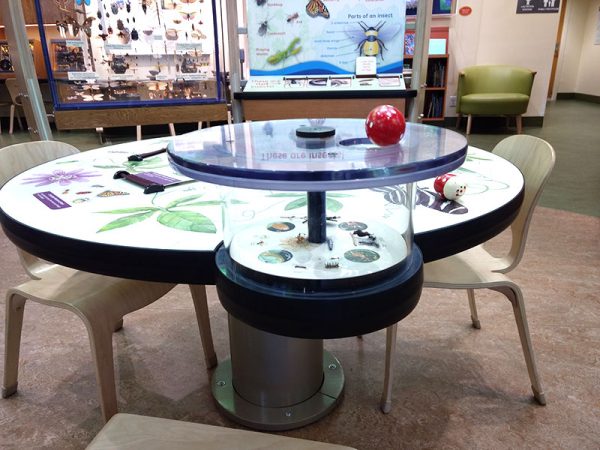
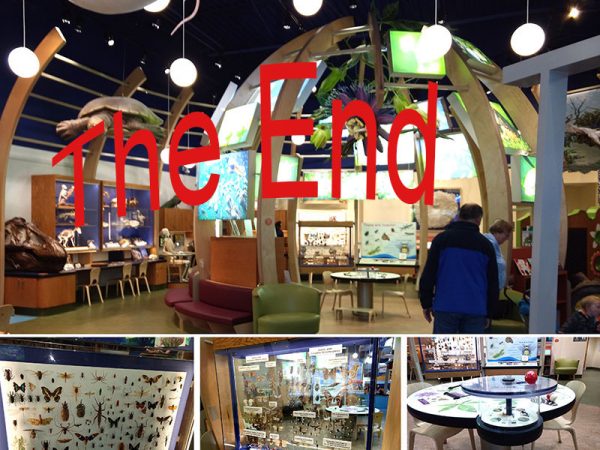
In 2017, we were asked to make three insect cases for the new Discovery Zone exhibit at the Florida Museum of Natural History:
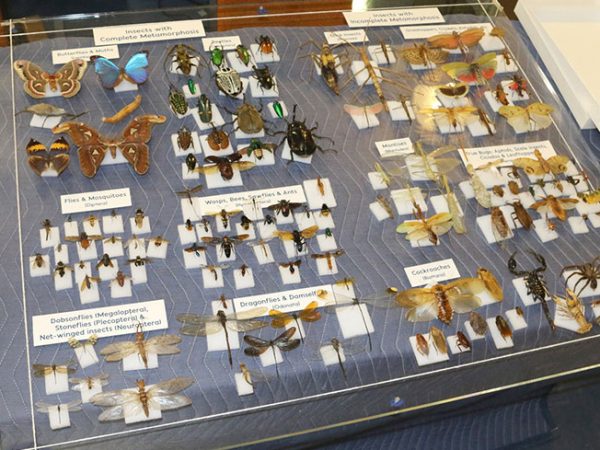
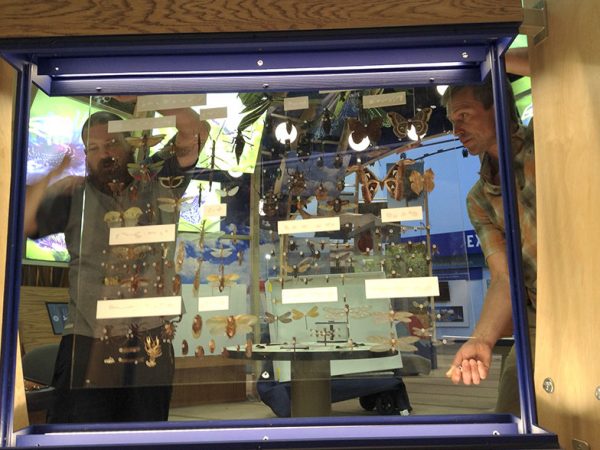
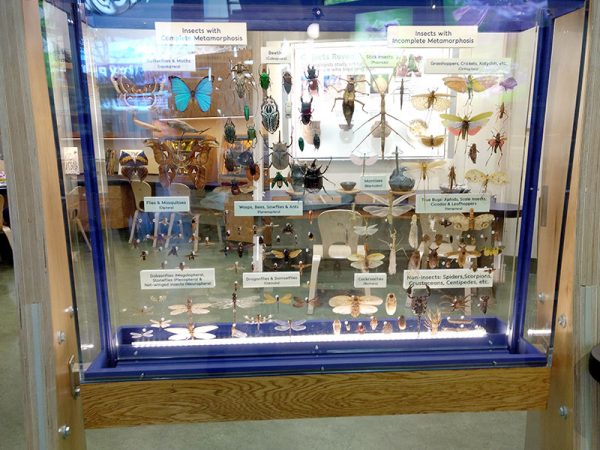
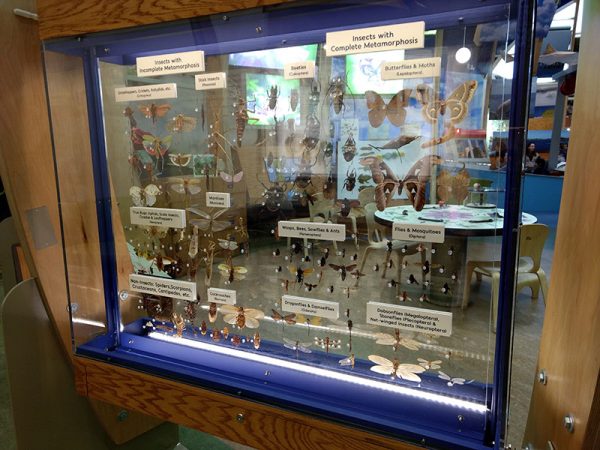
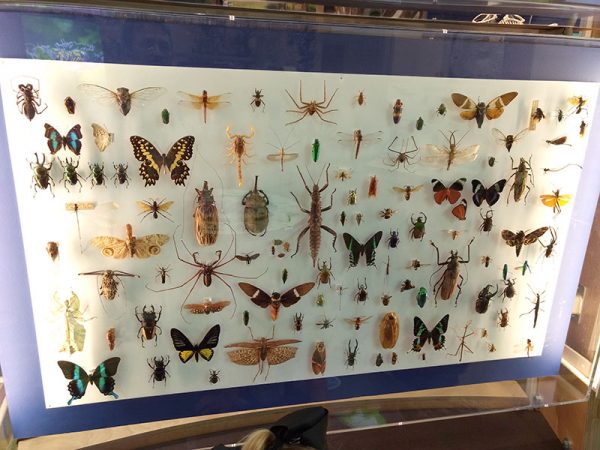
 The finished cases in the exhibit.
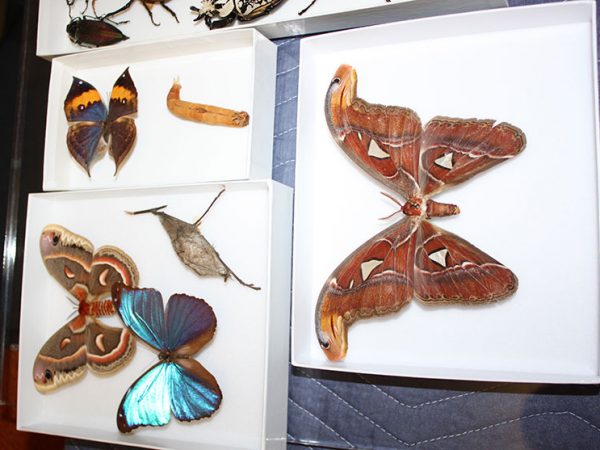
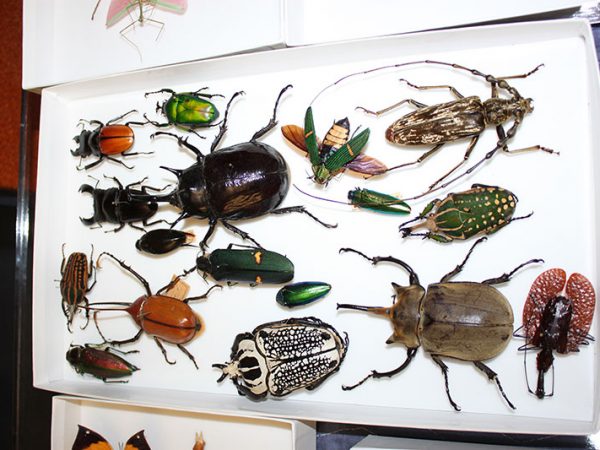
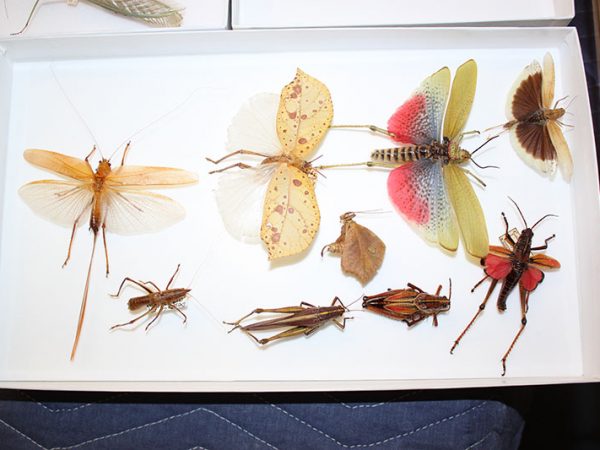
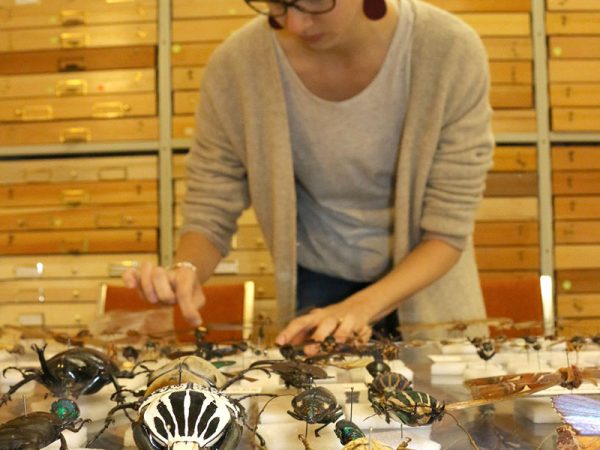
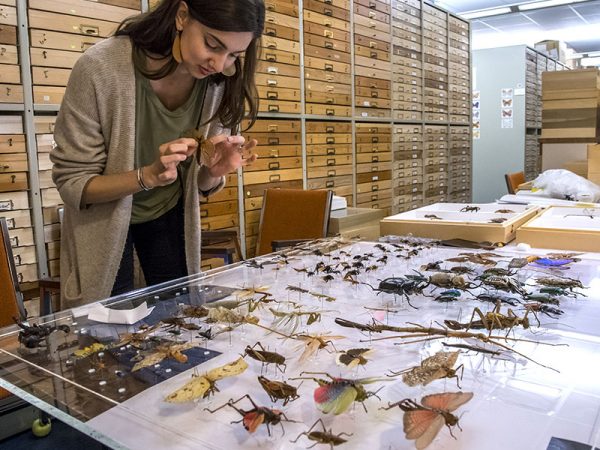
 First, we selected the insects.
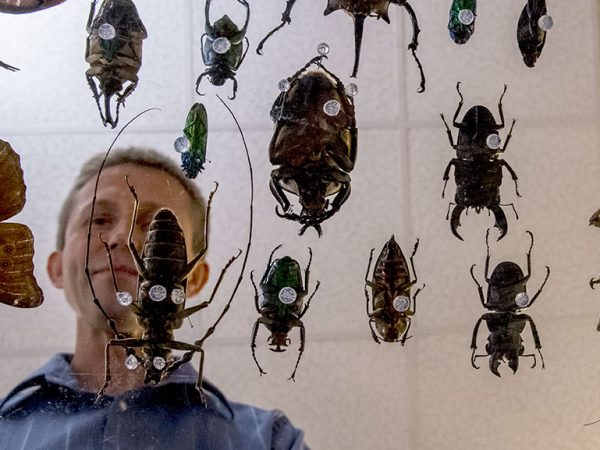
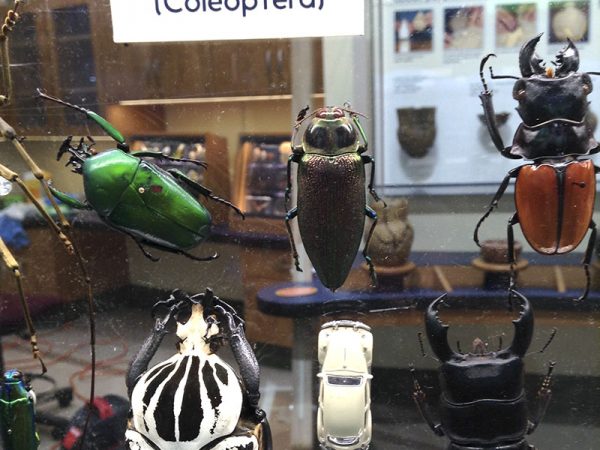
 Beetles were our favorites, …
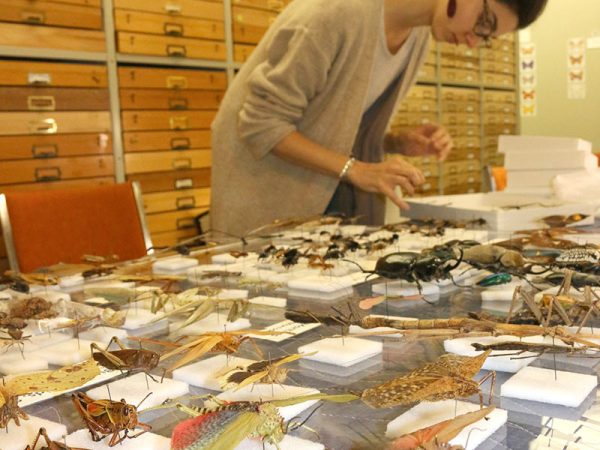
 … but we did not forget other orders.
 When preparation was needed …
 … preparation was done.
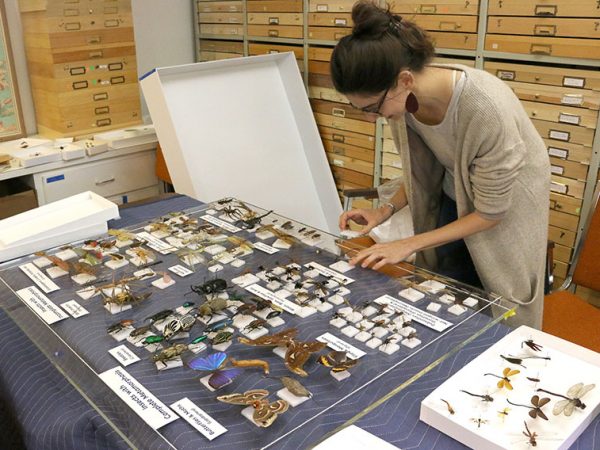
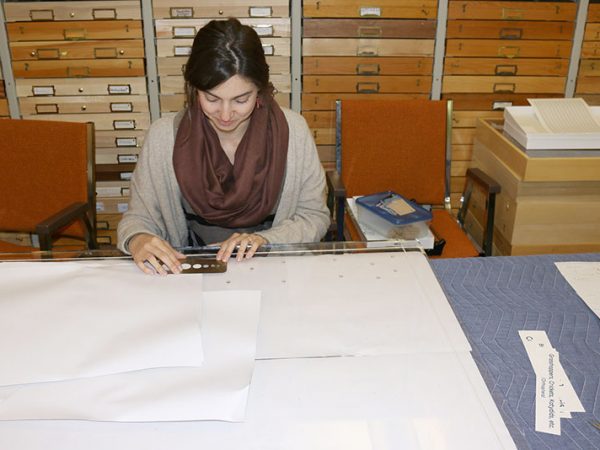
 Next came the layout.
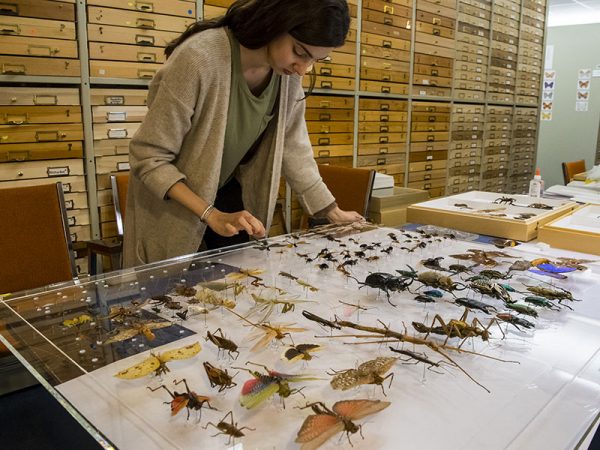
 We arranged insects in two large groups:
 … with complete and incomplete metamorphosis.
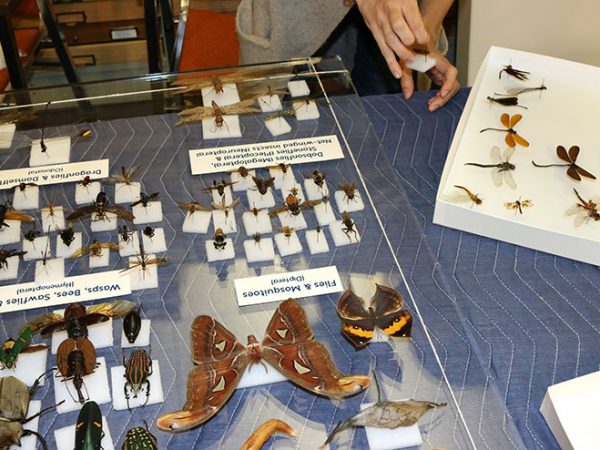
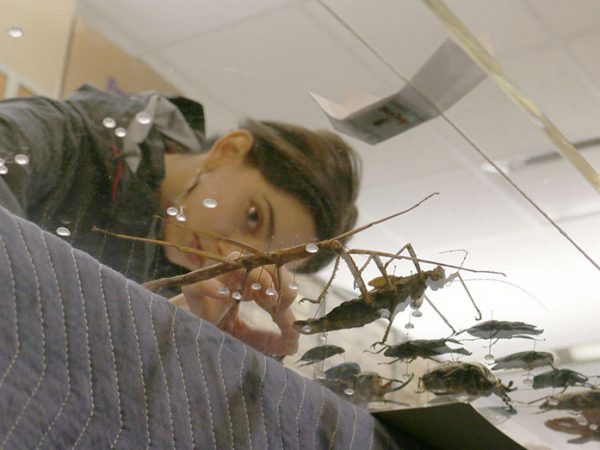
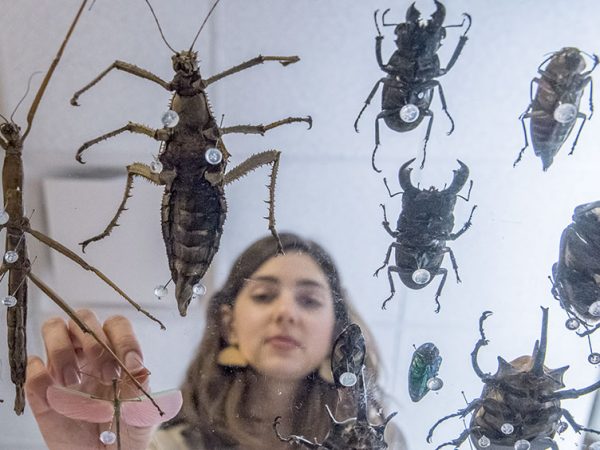
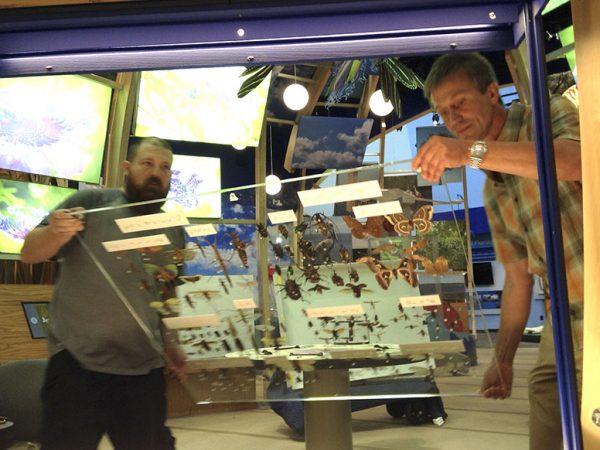
 Because insects were to be seen from both sides…
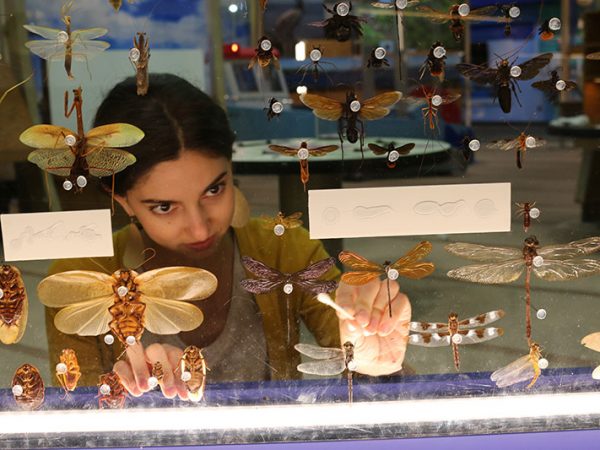
 … they had to be mounted on the plexiglass.
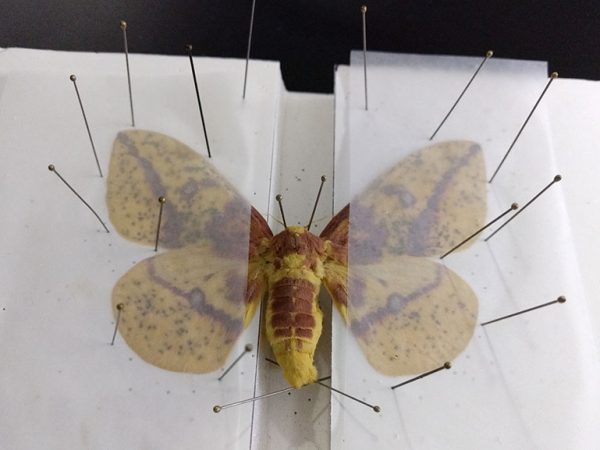
 So, first, we placed them on pieces of foam, …
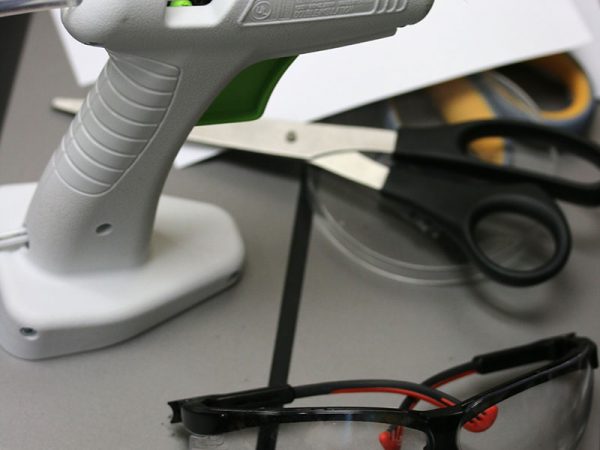
 and then we put dots of hot glue on plexi, …
 …(which, BTW, is a real pain) …
 … exactly where the pin would go.
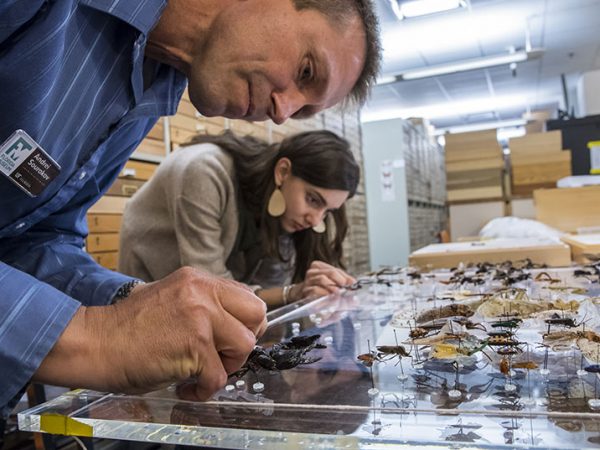
 Each pin was dipped into glue …
 … before we stuck it into the hot glue dot.
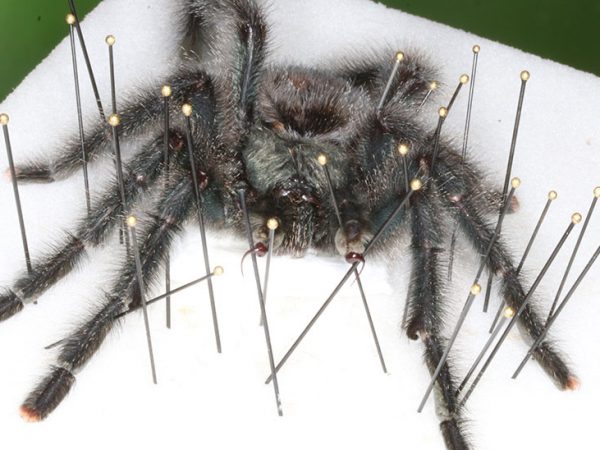
 Sometimes several additional pins were needed …
 … to keep a larger insect in place.
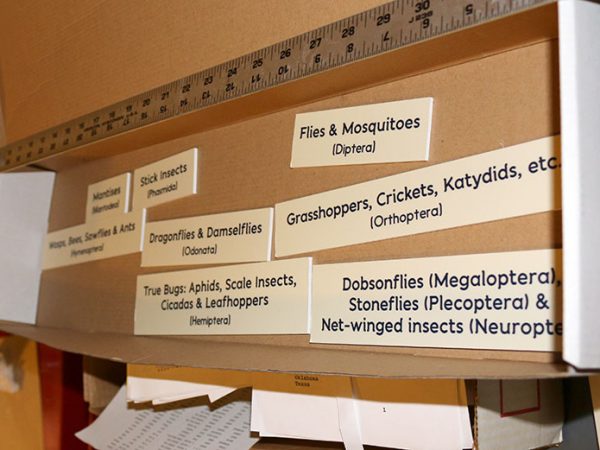
 We wish that the labels were made ahead of time, …
 … but they were not. Still, we managed to add them in.
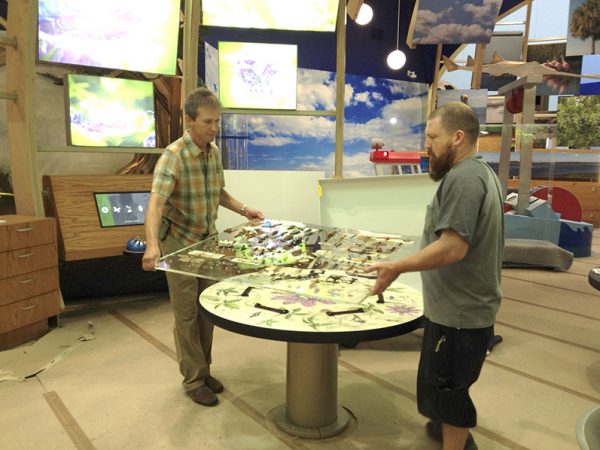
 Then came the installation – a nerve wrecking exercise.
 It was fun and easy thanks to our fabrication experts.
 No insect specimens were broken during installation.
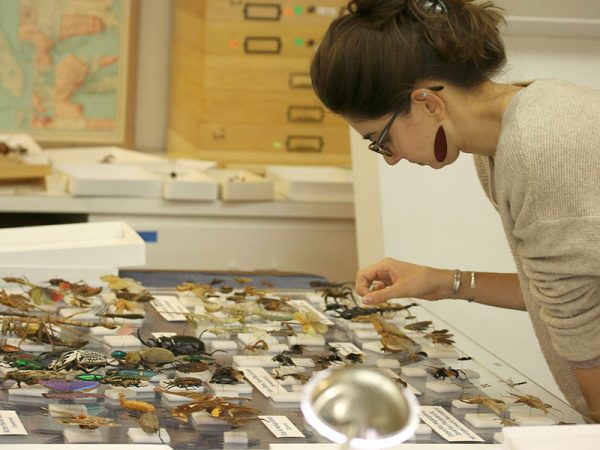
 For cleaning the plexi from debris before closing the case, …
 … we used professional tools (aka Q-tips).
 We placed a toy VW beetle among the beetles :), …
 … closed the lid, and all that was left …
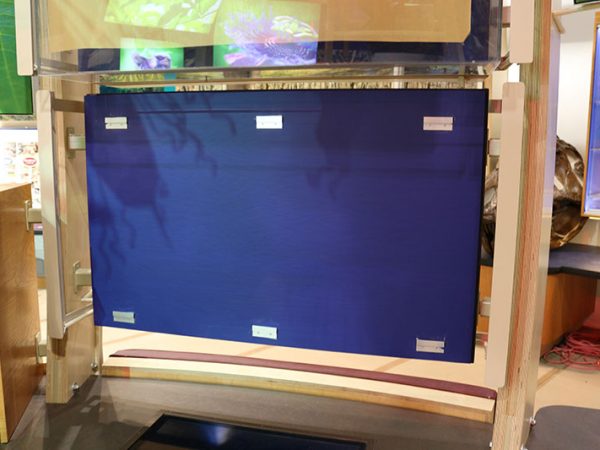
 … was adding labels on the back side of the case.
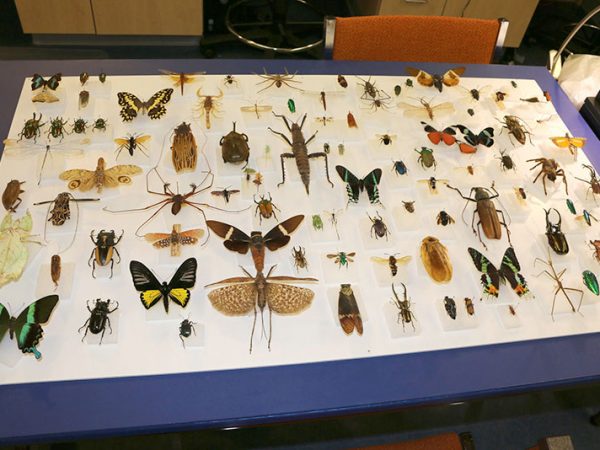
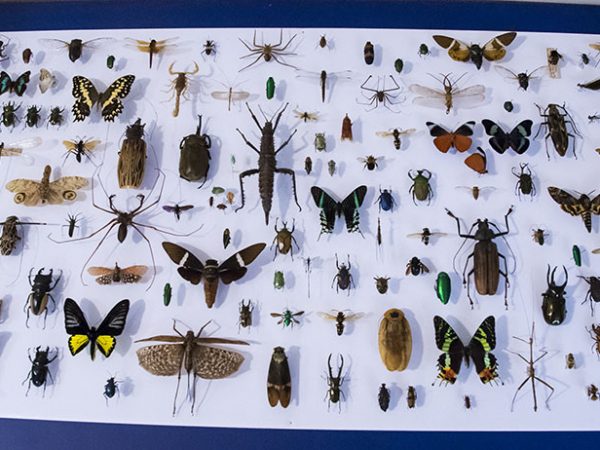
 The 2nd case was to showcase the diversity and beauty of insects.
 Mounted specimens were pinned into foam-core board, ….
 … z-mounted into the case, …
 … and protected with the plexiglass lid.
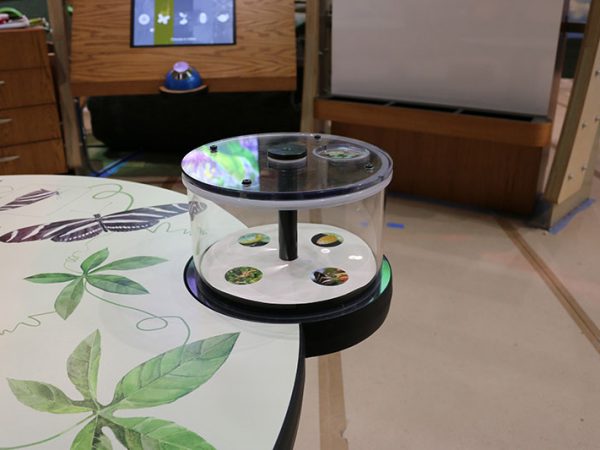
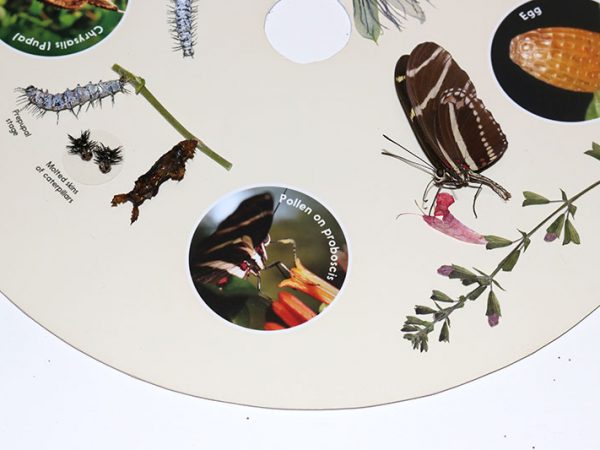
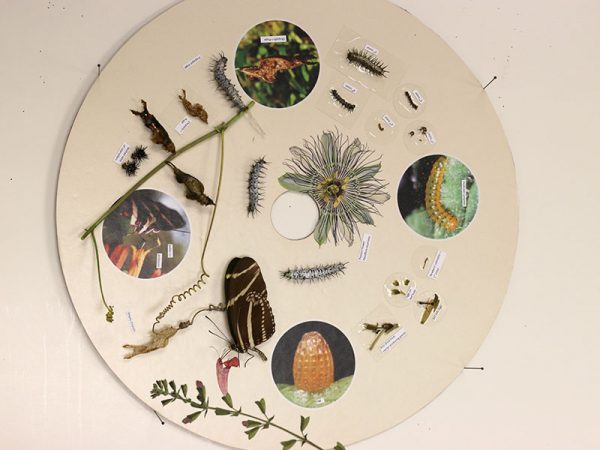
 This small round case was to show life history …
 … of the zebra longwing butterfly from egg to adult.
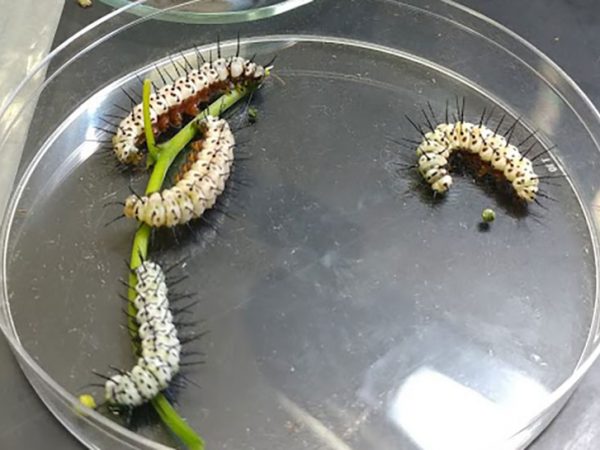
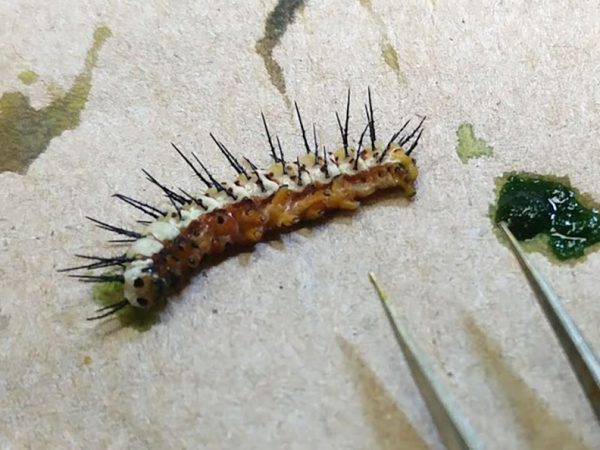
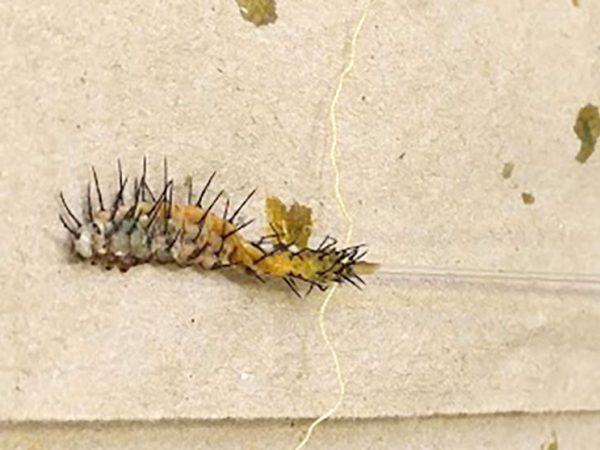
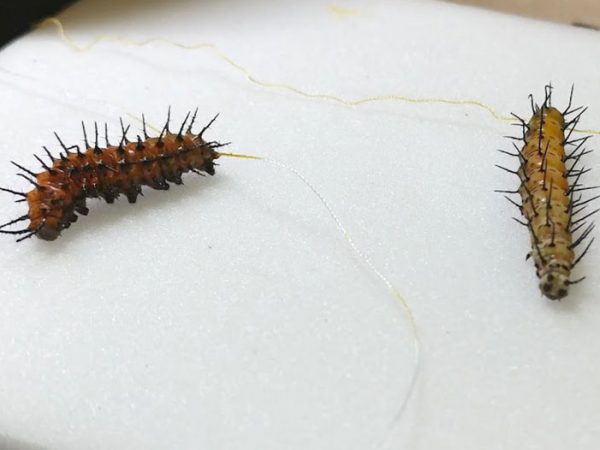
 We used a 19th century technique of…
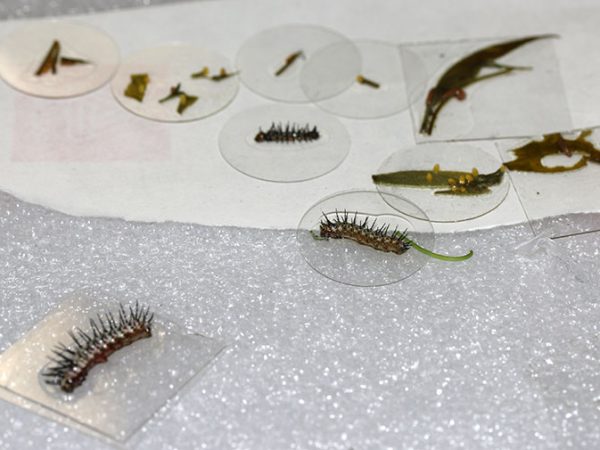
 … inflating caterpillars with air like a balloon.
 They were tied at the end with a string once inflated, and dried.
 A bit of acrylic paint returned them their white color.
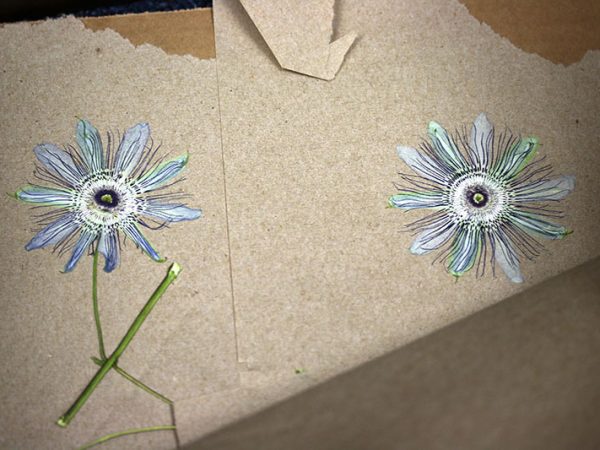
 Passion vine flowers were pressed in a phone book, …
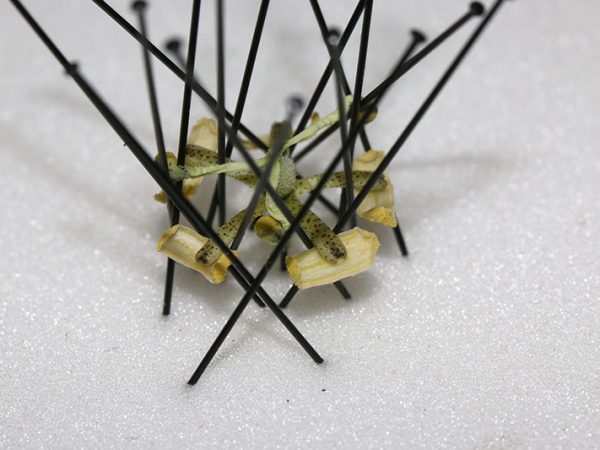
 but their reproductive organs were a bit more challenging.
 When finally all pieces of this puzzle were in place, …
 … they were added together to illustrate the life cycle, …
 …. which one can see through a magnifying glass.
 The end!
